Manufacturing
Inside the VoltPak enclosure: from a CAD file to a pressed aluminum shell
A walkthrough of the eight manufacturing steps that turn a flat sheet of 6061-T6 aluminum into the VoltPak 1000 enclosure - with tolerances, press tonnage, and the one step we almost outsourced and shouldn't have.
The VoltPak 1000 enclosure looks simple. It's an extruded aluminum body, two stamped end caps, and a machined front panel. It is not simple. It took four DVT revisions, three tooling vendors, and one memorable trip to Shenzhen to get right.
This post is a walkthrough of what we learned, what the process looks like end-to-end, and why the unit feels the way it feels when you pick it up.
The design brief
Before we get to process, a few numbers. The enclosure has to:
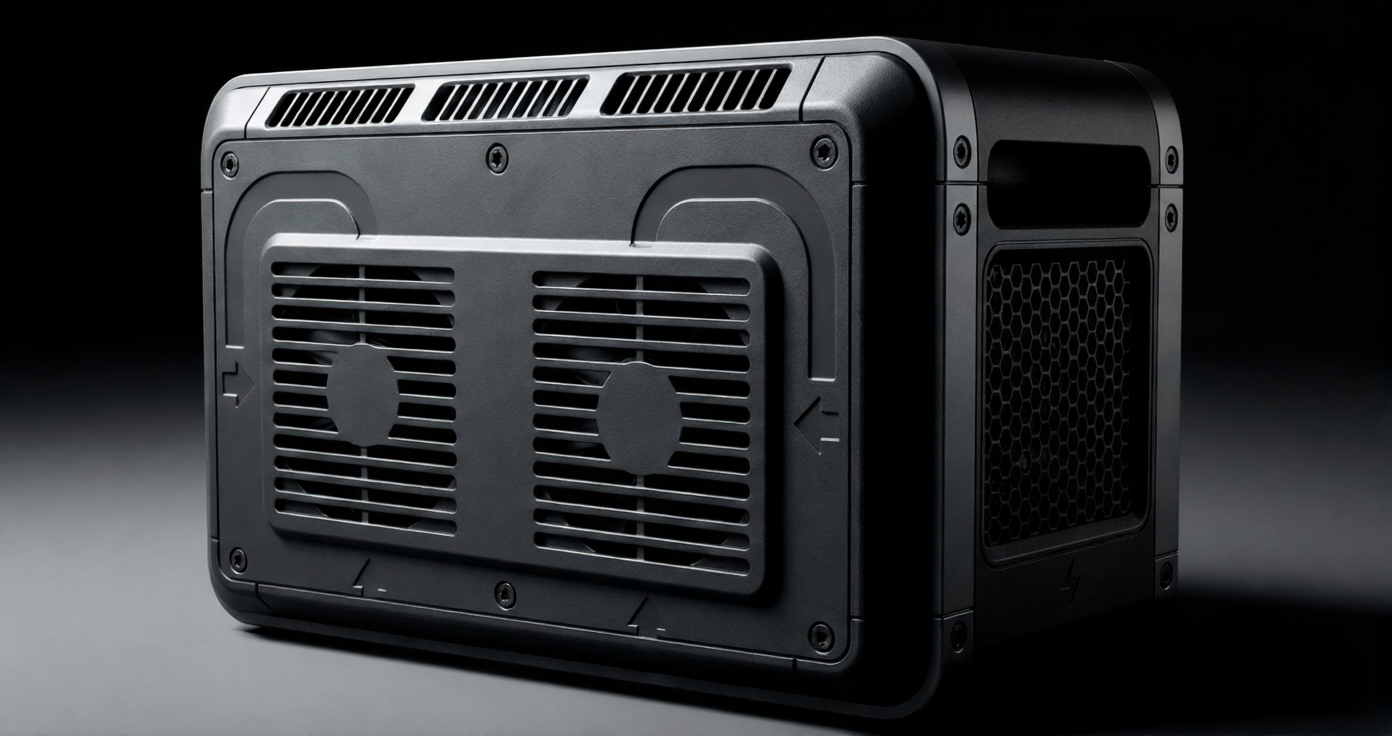
- Dissipate 1000 W continuous from the MOSFETs and transformer with 45 °C ambient headroom.
- Survive a 1 m drop onto a concrete floor on any of six faces.
- Hold tolerance of on the front panel port cutouts so the Neutrik connectors seat cleanly.
- Weigh under 2.4 kg for the enclosure alone.
The second and third constraints pull in opposite directions. You want a stiff box to survive a drop; you also want thin walls so you don't gain weight and you do gain airflow. The way we squared this is through the specific aluminum temper and the bending sequence - more on that below.
The eight steps
1. Sheet selection
We start with 6061-T6 aluminum, 1.5 mm thick, sourced in 1220 × 2440 mm sheets. The T6 temper matters: it's the sweet spot between formability and final strength. T0 is too soft and dents. T4 springs back unpredictably when you bend it. T6 is stiff, takes a bend cleanly, and work-hardens in the radius.
2. CNC blanking
Each sheet is laser-cut into 12 enclosure blanks plus their end caps. We chose laser over waterjet because the cut edge on aluminum at 1.5 mm is cleaner, and we don't have to deal with grit contamination on the conductive surfaces. The kerf is about 0.15 mm; total material utilization is 88 %.
3. Bending
This is where it gets interesting. The body bends into a box on a 60-ton press brake with a custom 90° V-die. The bend radius is critical - too tight and the aluminum cracks along the grain, too loose and the box doesn't close squarely.
The minimum bend radius for 6061-T6 at 1.5 mm thickness works out to:
where is the empirical factor for T6 temper bent perpendicular to the grain. We design to to give ourselves margin.
On our first tooling order, the bend lines were parallel to the grain direction on half the parts. We got a 4 % crack rate on those bends. The fix was to rotate the nesting so all bends run across the grain, but this cost us 6 % yield on sheet utilization. Worth it - crack rate dropped to under 0.1 %.
4. Vibratory deburring
Every blank goes into a ceramic-media vibratory tumbler for 40 minutes. This rounds the exterior edges just enough to feel good in hand, without softening the sharp interior edges that help the box stay square during anodizing racking. The media loss per run is tracked - we replace the ceramic when the tumbler drops below a mass threshold.
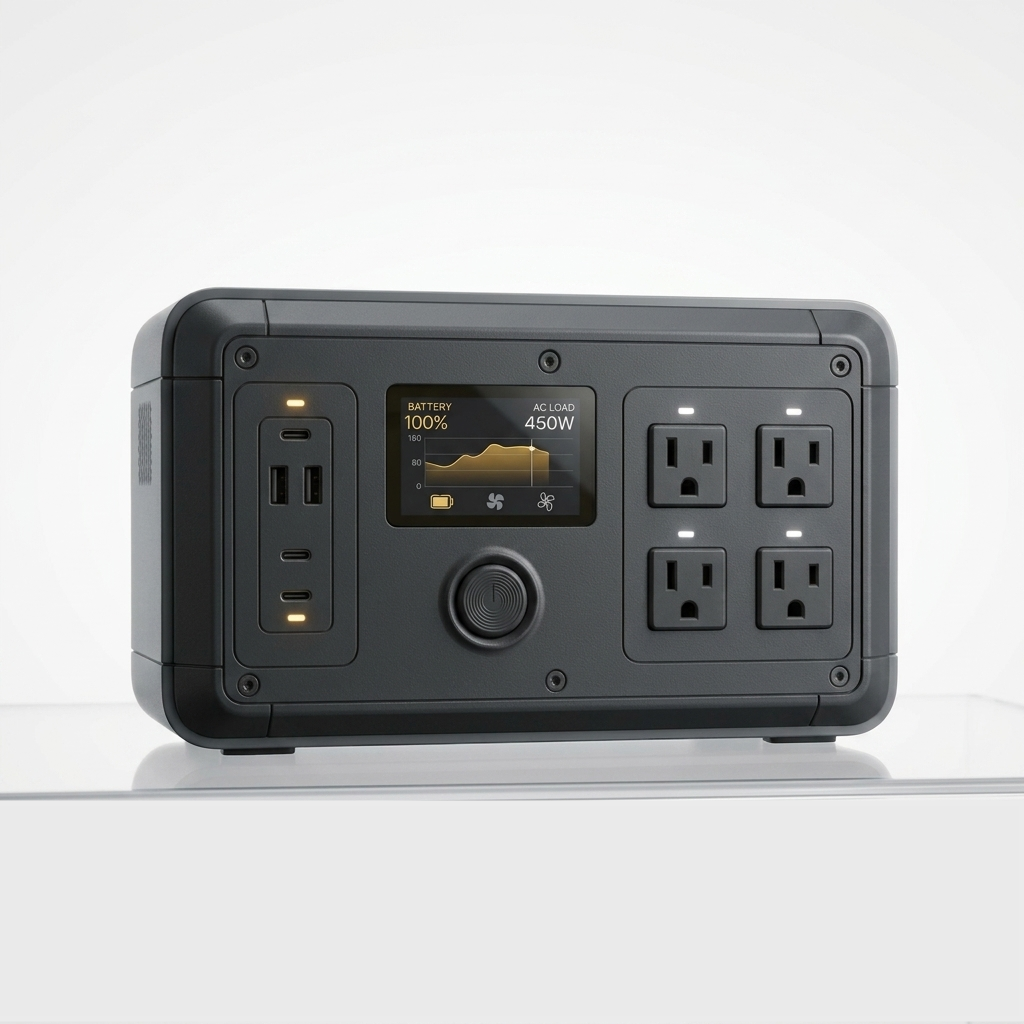
5. Front panel machining
The front panel is a separate part - a 3 mm slab of the same alloy, bolted to the enclosure on four M3 screws. We CNC-mill all the port cutouts on a Haas VF-2 with custom jaws. Tolerance on the cutouts is , which is within the Neutrik spec for its NAC3MPX chassis connectors.
6. Anodizing
Both the body and front panel get Type II anodize, dye black, sealed in nickel acetate. The coating thickness is a tight window:
- Below 8 µm: the color isn't uniform and rubs off on a thumb test.
- Above 15 µm: dimensional creep on the port cutouts exceeds our tolerance.
We run coupon samples with every batch and check coating thickness with an eddy-current gauge. Any batch outside the window gets stripped and re-run.
7. Screen printing
The VoltPak logo and the port labels are screen printed using a UV-cured white ink. We chose screen print over laser etching because the printed finish survives the anodized coating better under UV exposure (verified in an accelerated weathering chamber - 1000 h QUV test, ).
8. Final assembly QA
Every enclosure is inspected for:
- Dimensional - corner squareness, port alignment
- Cosmetic - scratches, anodize unevenness, print registration
- Fit - does the PCB stack drop in without rocking
The rejection rate at this station averages 3.2 %. The most common cause is print misregistration - the logo being 0.5 mm off center is a reject.
The one step we almost outsourced
We originally planned to outsource the vibratory deburring to a polishing house down the street from our enclosure vendor. It would have saved us about $0.40 per unit.
The problem is that the deburring media and cycle time dictate the feel of the enclosure in your hand. A shop that runs standard cycle times for outdoor furniture gets the edges too round - you lose the crisp corner line that makes the unit feel precise. A shop that runs too short gets sharp spots that make reviewers complain.
We brought it back in-house after DVT1. Now our media tumblers are dedicated to VoltPak only. It's more expensive and we don't regret it.
Links and details
If you want to go deeper into the mechanical side, everything lives in the open hardware bundle:
What we want people to take away
A portable power station isn't really one product - it's maybe 400 decisions, from the aluminum temper to the screen print ink. Most of them are invisible. Most of them are also the reason the thing feels the way it feels when you hold it. We take that seriously.
If you're building hardware and want to compare notes on enclosure processes, we love talking about this stuff. Email is still engineering@voltpak.com.